Croquet Microverse Tutorial 1
A number of demo worlds are included with the Microverse repository. We will use these to demonstrate how to create worlds, cards and behaviors. The first world we will visit is tutorial1.js. You can try this world out immediately once you have installed the repository and run npm start. The launch URL is:
http://localhost:9684/?world=tutorial1
It looks like this:
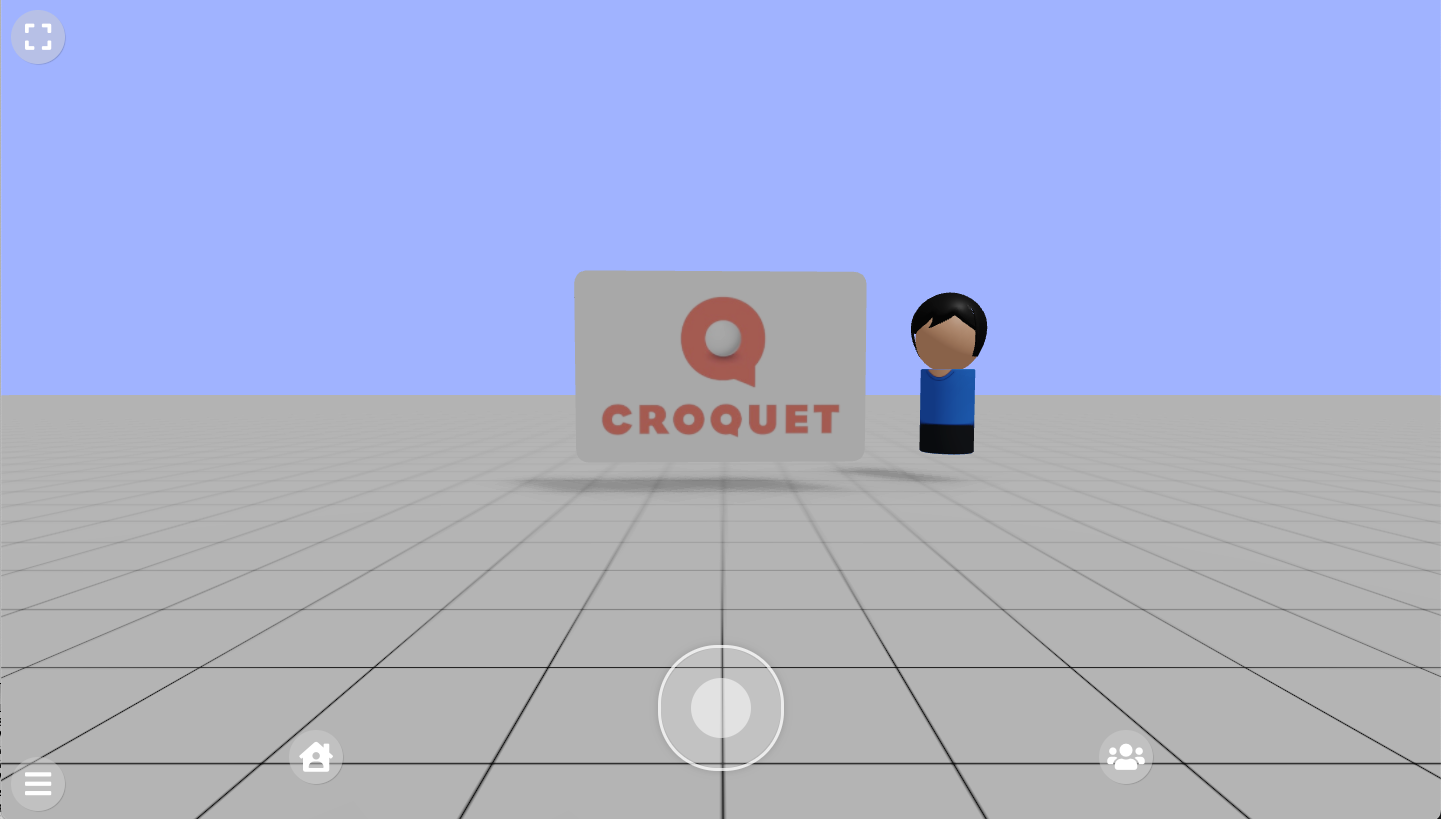
As you can see, this world is shared with another user. tutorial1 is made up of just three cards (not including the avatars). There is a floor card, which allows us to walk around, a light card that lets us see the world around us, and a flat card with the Croquet logo on it. The code defining this world can be found in the worlds folder in the repository. Open microverse/worlds/tutorial.js to see the following code. The init function is used to define the objects that make up the world.
The first value is Constants.AvatarNames, which specifies the name of the 3D model files in microverse/assets/avatars folder. When you add your own avatars, you can simply place them in the same folder and specify their names here.
export function init(Constants) {
    Constants.AvatarNames = [
        "newwhite", "fixmadhatter", "marchhare", "queenofhearts", "cheshirecat", "alice"
    ];
Alternatively, you can specify a full card spec for an avatar. The behaviorModules property of the spec will be used so that you can customize the avatar's behavior. In particular, the half body avatars created on the Ready Player Me is supposed. (cf. worlds/test.js, and also try pressing the Settings... menu in the three line menu at top right.)
The next section defines the various behaviors we will be attaching to our cards. Typically you create a directory for your behavior modules for the world you are creating, and list them in this section.
    Constants.UserBehaviorDirectory = "behaviors/tutorial";
    Constants.UserBehaviorModules = [
        "lights.js", "gridFloor.js"
    ];
The final section is where we define the cards. A card is easily defined by a number of parameters including the name, type, where it is first loaded into the world, and how it will be used. Perhaps most important is we can associate a behavior to the card here. A behavior can define how a card is constructed, or how it acts when a user interacts with it, or how it can access live external data streams. Here, the first card, the "world model" is defined by the "GridFloor" module. We will take a look at that shortly. The next card defines the lighting in this world. It is a bit more sophisticated, but is relatively easy to use. The last card creates a much more card-like object. A floating object in the middle of the scene with the Croquet logo applied.
    Constants.DefaultCards = [
        {
            card: {
                name: "world model",
                behaviorModules: ["GridFloor"],
                layers: ["walk"],
                type: "object",
                translation: [0, -1.7, 0],
                shadow: true,
            }
        },
        {
            card: {
                name: "light",
                layers: ["light"],
                type: "lighting",
                behaviorModules: ["Light"],
                clearColor: 0xaabbff,
            }
        },
        {
            card: {
                name: "image card",
                translation: [0, 0.4, -10],
                scale: [4, 4, 4],
                type: "2d",
                textureType: "image",
                textureLocation: "./assets/images/CroquetLogo_RGB.jpg",
                frameColor: 0xcccccc,
                color: 0xffffff,
                cornerRadius: 0.05,
                depth: 0.05,
                shadow: true,
            }
        },
    ];
}
Let's explore the properties that are used to define the cards.
name: This is used to identify the card within the world and can be any string.
behaviorModules: This is a list of the behaviors that will be applied to a card.
layers: An array that specifies how the card will be used. Here we have one card defined as 'walk', one as 'light' and one as 'pointer'. If you wished to have a card that you could both walk on and interact with you simply specify:
layers: ['walk', 'pointer']
translation: [0, -0.75, -10] A three element array that specifies the location of the card in the world. These values are in meters. The first element is the x-coordinate, in this case it is 0 so it is in the same x-location as the avatar when it starts. The next is the y-coordinate, which indicates its height above 0. Croquet sets 0 to be the location of the avatar's camera or eye height, so -0.75 places the center of teh card at -0.75 meters beneath the eye point. The last is the z-coordinate which for Croquet and WebGL is defined as a negative value when looking into the screen. Thus, -10 will place the card 10 meters away in front of the avatar.
scale: [4,4,4] A three element array that defines how a card will be scaled. Cards are usually imported or defined to be contained within a 1x1x1 box for easier management.
type: "object" This defines how the visual appearance of the card is constructed. A type can be "2d", "3d", "text", or "object". Type "object" means that its visual appearance is created by a user-defined behavior, in this case the GridFloor behavior shown below.
shadow: true Specifies that this card will be both a recipient and a caster of shadows in the world. [note: we will want to separate recipient and caster into separate flags].
A full list of card properties is available in the CardSpec.md document.
Behaviors
Now let's take a look at the simple behavior we use to define the floor we are walking around on. This is the "GridFloor" behavior and is defined in the file:
"microverse/behaviors/tutorial/gridFloor.js".
This is the code:
// Grid Floor
// Croquet Microverse
// Generates a simple gridded floor card

class GridFloorPawn {
    setup() {
        console.log("GridFloorPawn.setup()")
        const THREE = Microverse.THREE;

        // this is the base64 encoded version of a png file with the unit grid pattern.
        let gridImage = "data:image/png;base64,iVBORw0KGgoAAAANSUhEUgAAAEAAAABACAYAAACqaXHeAAAABHNCSVQICAgIfAhkiAAAAAlwSFlzAAAOnAAADusBZ+q87AAAAJtJREFUeJzt0EENwDAAxLDbNP6UOxh+NEYQ5dl2drFv286598GrA7QG6ACtATpAa4AO0BqgA7QG6ACtATpAa4AO0BqgA7QG6ACtATpAa4AO0BqgA7QG6ACtATpAa4AO0BqgA7QG6ACtATpAa4AO0BqgA7QG6ACtATpAa4AO0BqgA7QG6ACtATpAa4AO0BqgA7QG6ACtATpAu37AD8eaBH5JQdVbAAAAAElFTkSuQmCC";

        let image = new Image();
        let texture = new THREE.Texture(image);
        image.onload = () => texture.needsUpdate = true;
        image.src = gridImage;

        texture.wrapS = THREE.RepeatWrapping;
        texture.wrapT = THREE.RepeatWrapping;
        texture.repeat.set( 100, 100 );

        if (this.floor) {
            this.shape.remove(this.floor);
            this.floor.dispose();
        }

        this.floor = new THREE.Mesh(
            new THREE.BoxGeometry( 100, 0.1, 100, 1, 1, 1 ),
            new THREE.MeshStandardMaterial({ map: texture, color: 0xcccccc }));
        this.floor.receiveShadow = true;
        this.shape.add(this.floor);
        this.cleanupColliderObject()
        if (this.actor.layers && this.actor.layers.includes("walk")) {
            this.constructCollider(this.floor);
        }
    }
}

export default {
    modules: [
        {
            name: "GridFloor",
            pawnBehaviors: [GridFloorPawn],
        }
    ]
}
This behavior construct the 3D floor and apply a grid to it. As you can see, you can use the features of Three.js 3D rendering system to construct visual appearances.
The file contains a behavior for what we call the "pawn". As might be clear from its name, it is controlled by the actor and it's job is to represent the state of the actor as the actor is updated - whether from the local user or a remote user. In this case, the only job of the GridFloorPawn is to construct something for us to stand on. As you can see, the floor is simply a three.js BoxGeometry with a grid texture applied to it. The definition of a behavior uses the keyword class to accommodate exisitng sytax highlighting mechanisms and all source code management features that your editor provides but there are certain restrictions and styles a behavior definition has to follow.
The last part of the behavior code is an export specification. A behavior module file is expected to export a list of modules, in each of which has a name, a list of actor behaviors and a list of pawnBehaviors for the module.
Copyright (c) 2024 Croquet Labs